- Jackal Mask -
I do not have a passion for designing 3D models and found it quite difficult, I used blender for this and the mask was my second project after following a tutorial of a human figure. I will definitely say I have achieved the look I wanted with this mask, It's not perfect but not horrible. You may need to trim the bottom of the mask to give more room to your throat. Feel free to add foam or rubber to make the mask more comfortable.
The mask was modeled & printed in late 2023, I used electrical tape to put the pieces together for a test fit which thankfully worked after a few tweaks... then it was forgotten in the corner of my room for almost a year as I lacked willpower to completely finish it. Making this website has sparked my interest in this project again so I will share everything while finishing it.
The mask has no holes for straps, feel free to add some dependent on the dimensions of the straps you might have however you see fit, for example, you could take a cheap soldering iron to melt your way in the sides of the print or take a more gracious approach, like altering the model. If you choose the latter of couse you would need to convert it to G-Code.
In the photograph below you can see that I will repurpose a small headlight, I will use the headstrap & attempt to replicate the slots which are onto the light's case onto the sides of the mask for securing the strap which will make it so that the strap will be removable if it wears down.
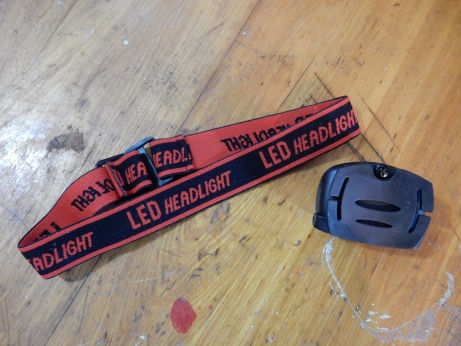
The dimensions of this mask fit my facial structure, be sure to verify the model dimensions and compare it to yours before printing, otherwise I think you can guess what would happen.
I highly advise you to use the sliced version of the snout, separated into bottom and top files to print, unless you would like to pick at support filament for days. Due to the snout structure of canids, it must be oriented upwards to leave a minimal amount of unsupported material. If you plan on altering the original model, please slice it when you are ready to print, it will make your life easier.
If you do not use a sliced version then the support filament will fill everything inside the snout because the slicer software[1] will see that the top of the snout (underside of the nose) has unsupported material (nothing under it) meaning that you would need to dig-out the support filament the full length vertically which would be fully encased by the snout. This wastes a lot of filament and time. Do you envision the pain this would give to my frail little sheep hands? baaaah.
Something important to note, if you use super-glue or a cyanoacrylate adhesive, there is a possibility of it turning a grey-ish color when curing. I chose black filament for this project & around the vicinity where the glue has flown, it discolored to grey. Perhaps try another type of glue if you are trying this project, I will say, the super-glue worked very well at keeping the pieces together, be sure to sand the parts for maximum adherence.
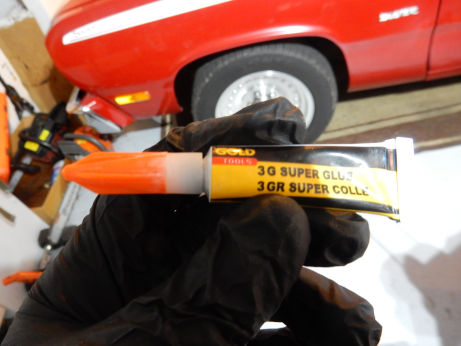
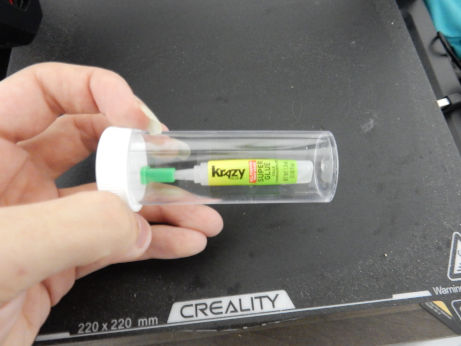
these lil fuckas did this
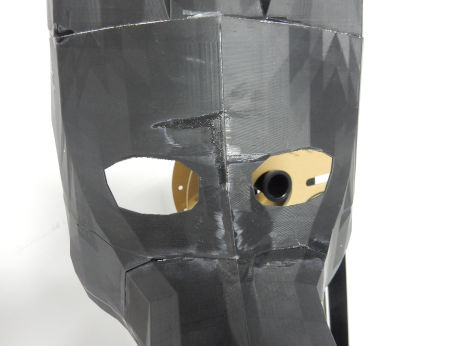
(I caked it with the stuff, I know I know)
Another note, super-glue emits a variety of VOC chemicals, aka Volatile Organic Compounds. This could lead to displeasing health effects given enough exposure to the funny invisible fumes, I recommend you to put small drops of the stuff along the connecting edges of the pieces in a well-ventilated area as cyanoacrylate-type glues work best when not applied in big blobs, if you do, it makes a mess and the bond takes forever to form (see image above).
I will deep-clean the mask to get rid of any left-over sanded PLA material. If you are using super-glue and want to wash the print with water, beware as not all brands of super-glue uniformly react to the substance and there is a possibility of making the bonds more fragile. If you thought of using IPA (isopropyl alcohol) to clean the print, you cannot because unfortunately IPA attacks the cyanoacrylate.
My print base is 220x220x250, the nozzle size I use is 0.4mm & my printer is a Creality 3 v3 SE using PLA (polylactic acid) filament. If you are using the same 3D printer, read the full paragraph. If you are not using the same 3D printer, ignore the following text in this paragraph. The G-Code files already have the settings embedded & are ready to be printed. They were generated using UltiMaker Cura 4, you can examine the data at the end of the files if you are curious about the settings.
If you wish to completely skip the pre-generated G-Code files then you are able to use the STL files I have generated from the model in order to have your own slicer software do the work. These STL files have been pre-sliced to fit in most 3D printers. Your slicer software will aid you in verifying this.
If for whatever reason you cannot use the STL files, I have shared the blender model file, it has a .blend file extension. Feel free to use it or modify it, as long as you give me credit for the original creation. Do note that the model file is complete meaning that if you wish to print a sliced version & cannot use the STL files I have provided then you will need to slice the model in sections. Rest assured that slicing a model is not hard, good luck.
MD5 Checksum: c4f8a3153ae1d23d0561b74b95e6d08c
SHA1 Checksum: 09b0f5ba15bf83e4fb578ee09a1daeec8df4aef0
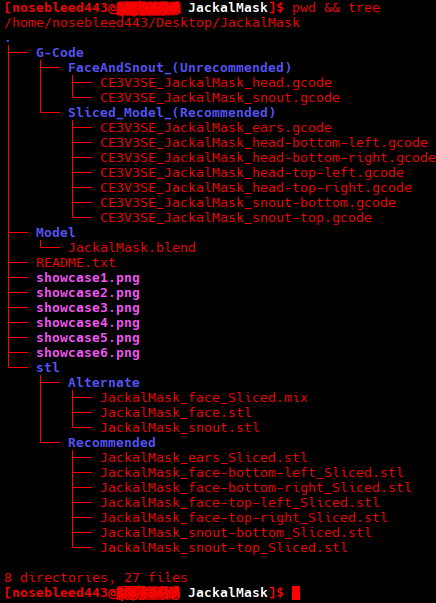
Here is the directory tree of the .zip

- Footnotes -
[1] The slicer software is what you use as a final step on the computer to prepare the model to print by letting you adjust print settings and converting to G-Code, which is what the 3D printer understands, these files contain XYZ coordinates telling the appropriate motors to move & other various settings. Sliced files are known as files that have been sliced on the XYZ plane for facilitation of printing in case of a small printing base, speaking of which, is one of the most unfortunate downsides of an affordable 3D printer.